
Tuckpointing Services Perth
We are perfectionists when it comes to tuckpointing.
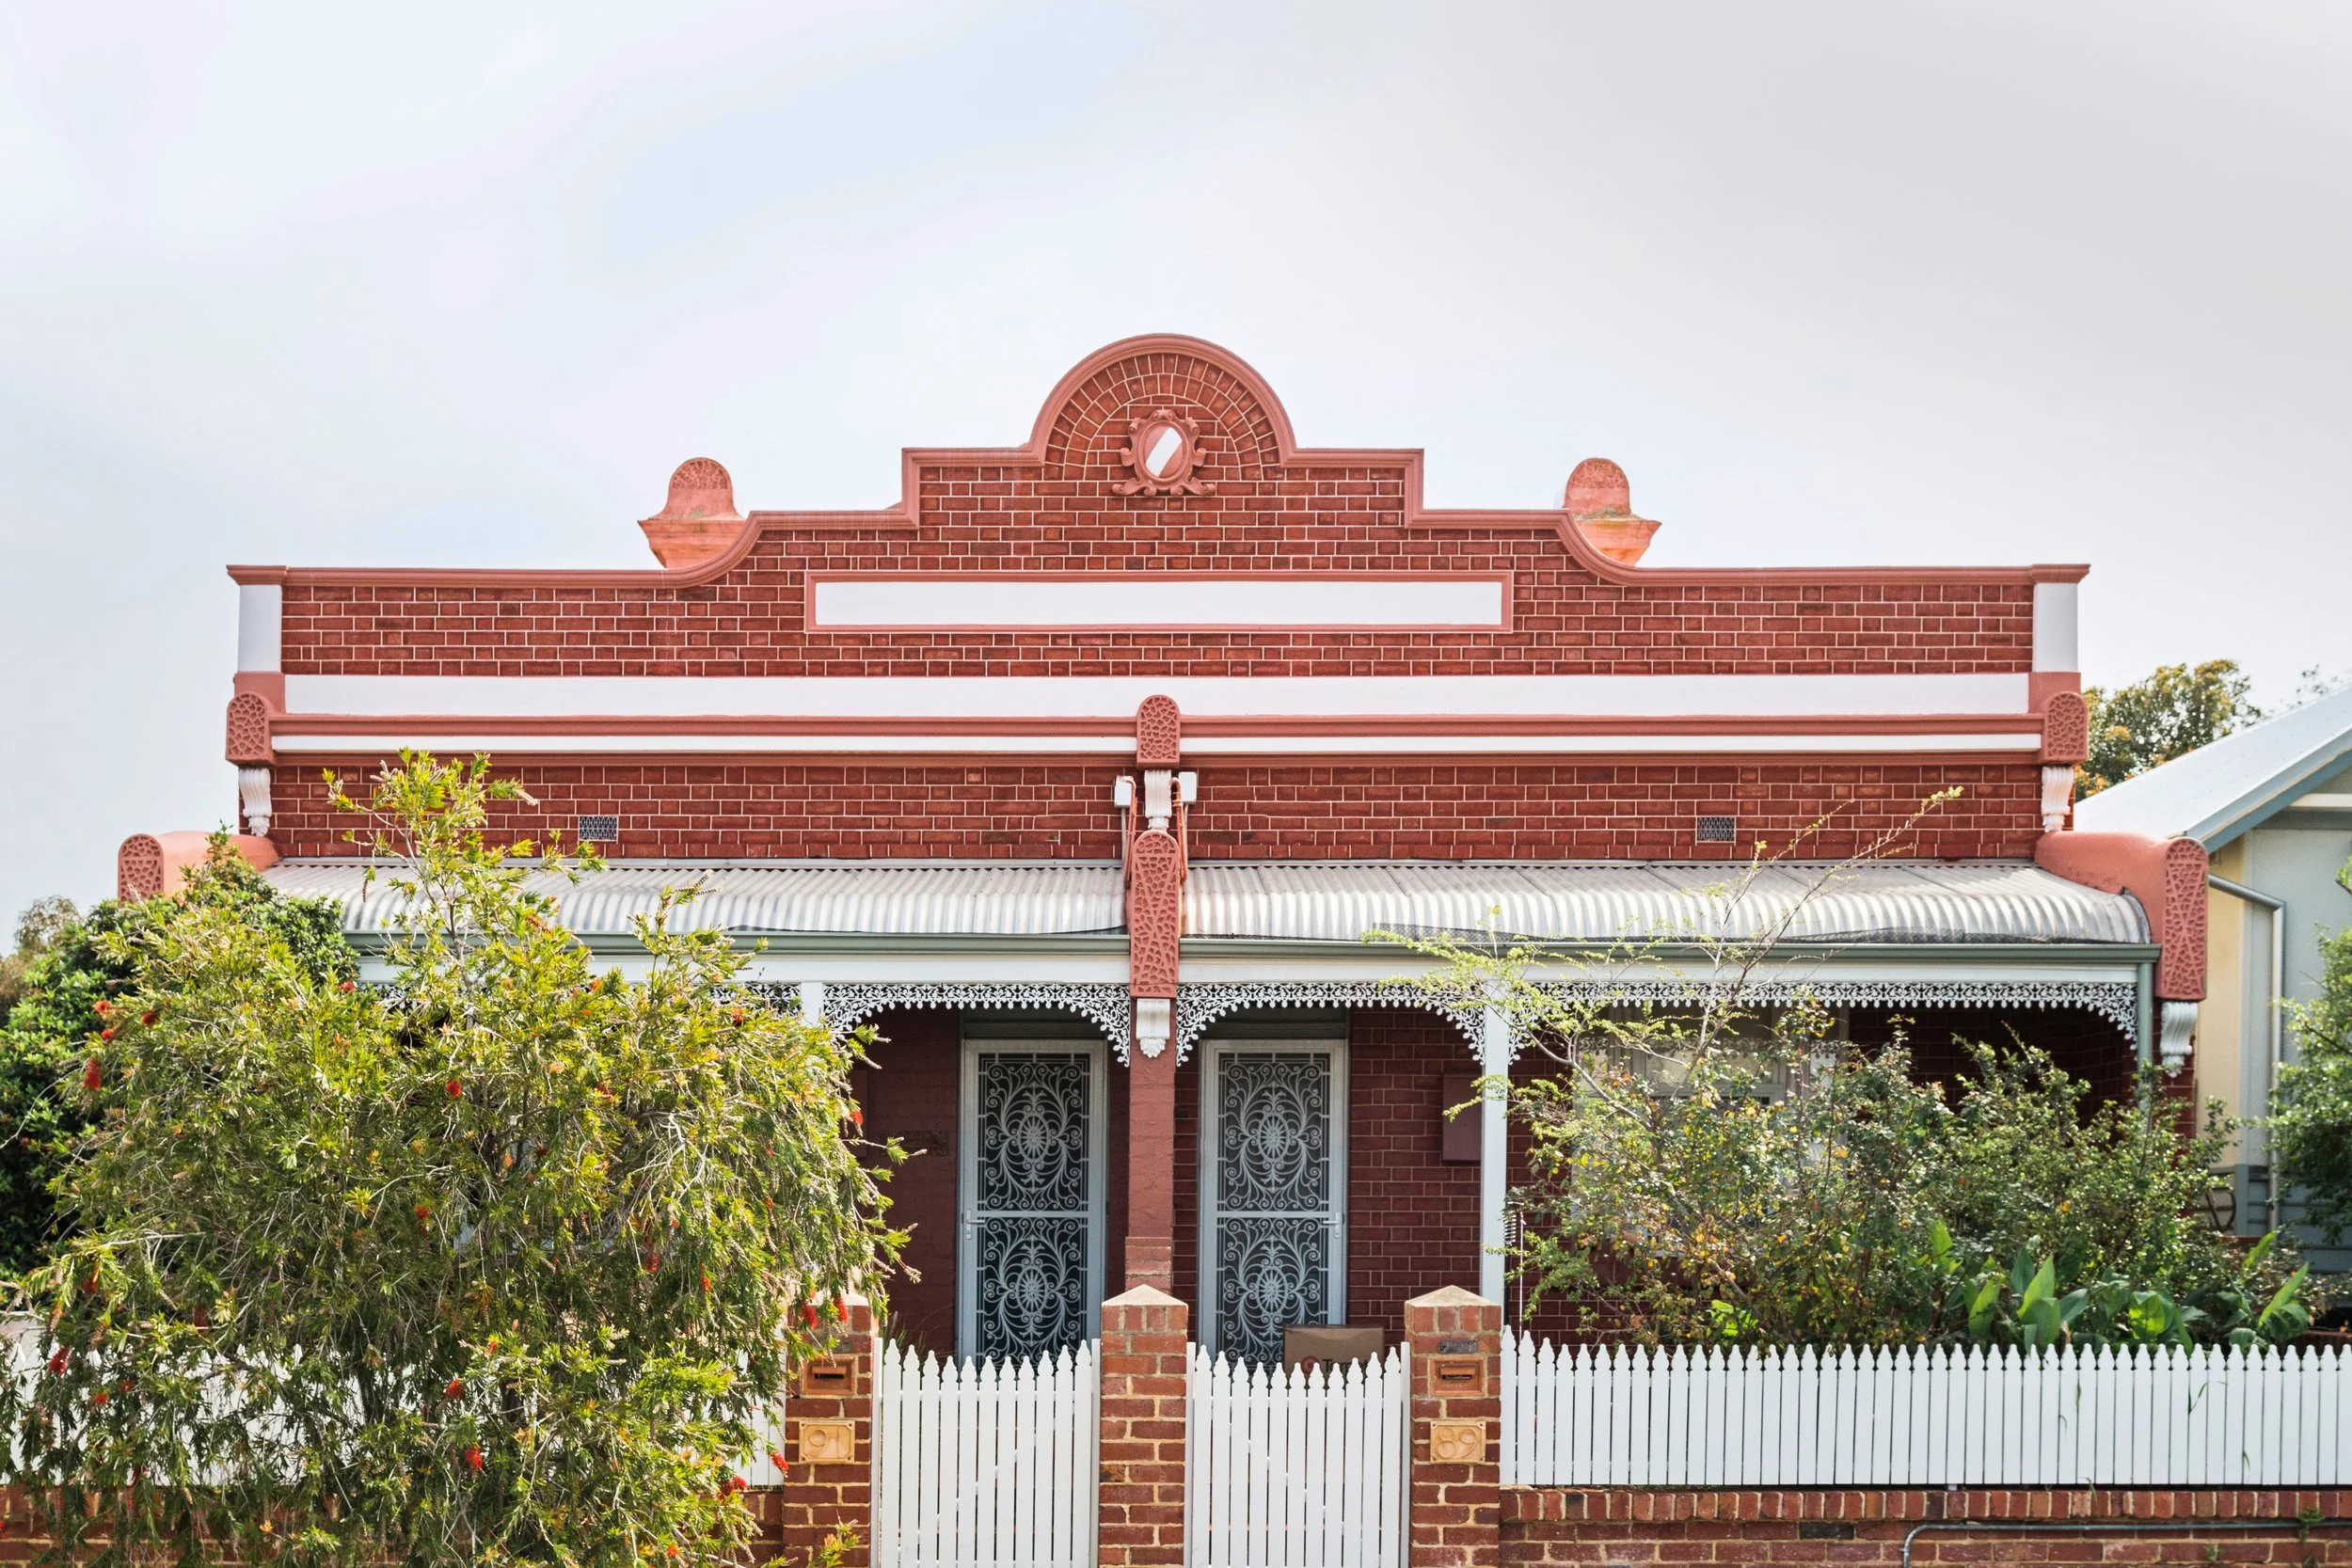
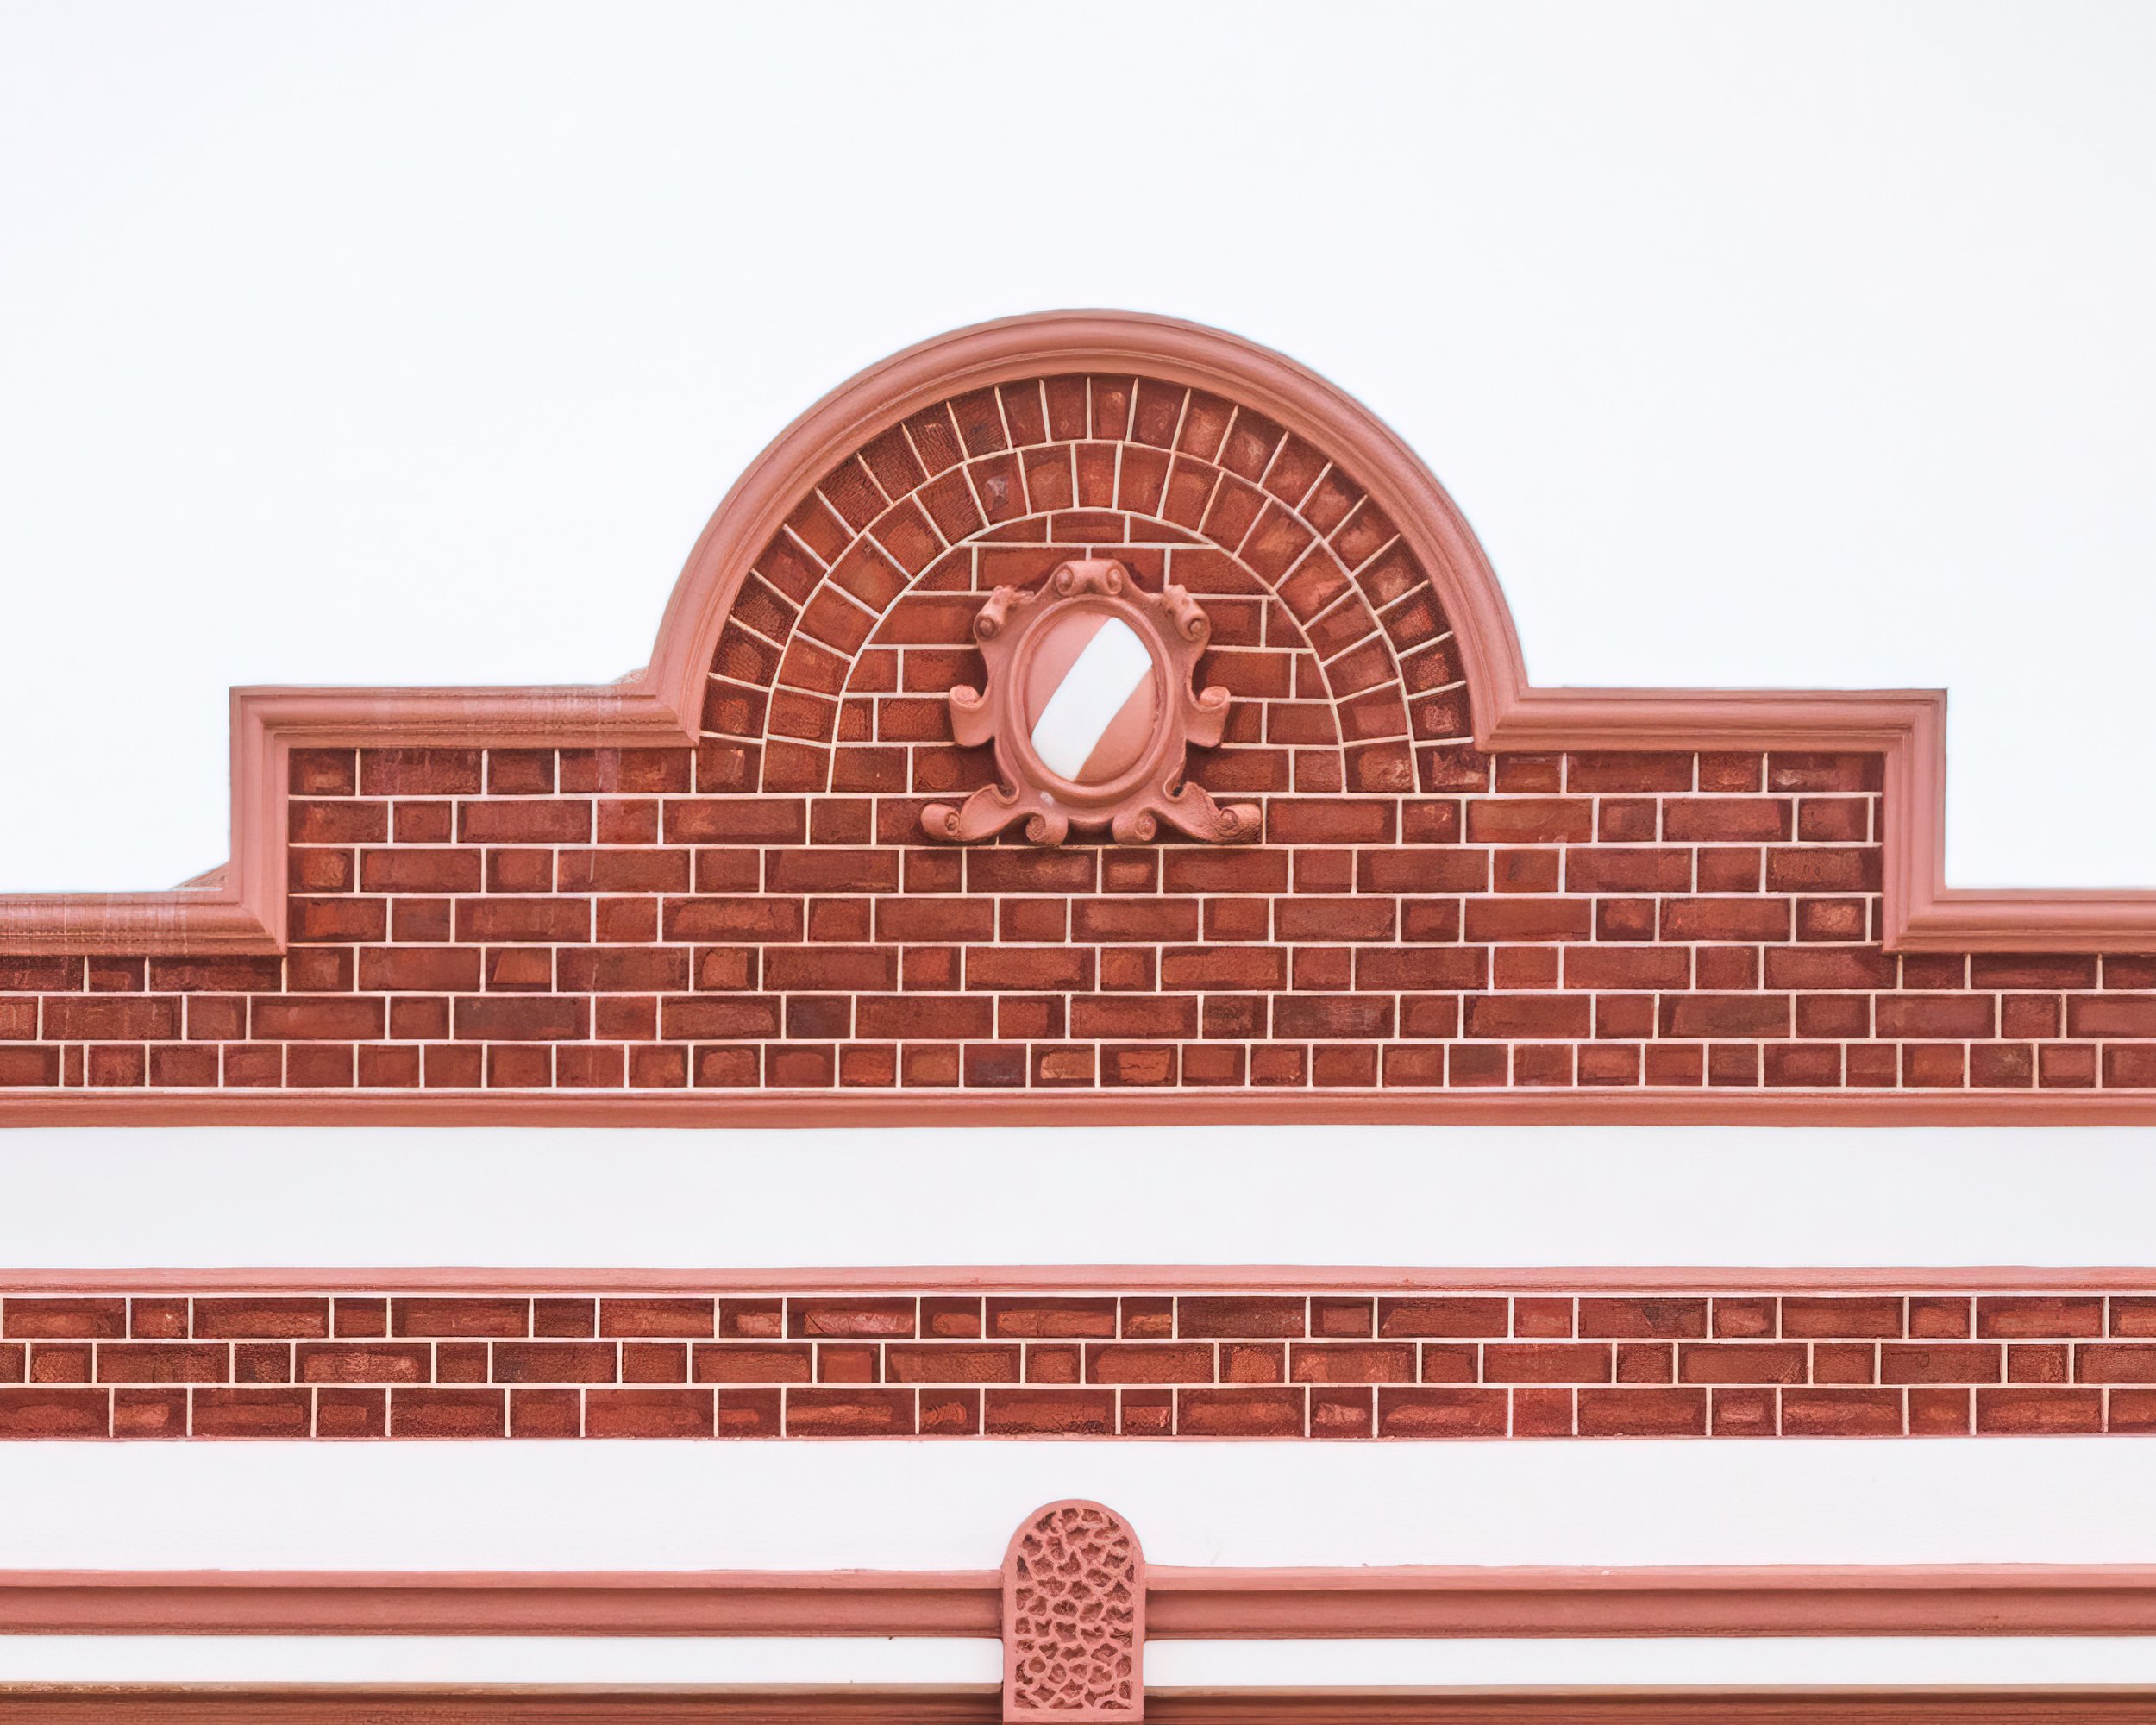
Enhance the heritage character of your Perth property and restore brickwork to its former glory with tuckpointing - a federation-era technique of fine craftsmanship and refined detail. If the brickwork on your building is looking a little worse for wear, talk to us. Tuckpointing is our passion, and its our specialty.
We offer both traditional brick tuckpointing and render tuckpointing, giving you the options that best suit your home and budget.
What sets Regal Heritage Restoration apart from the competition?

tuckpointing video
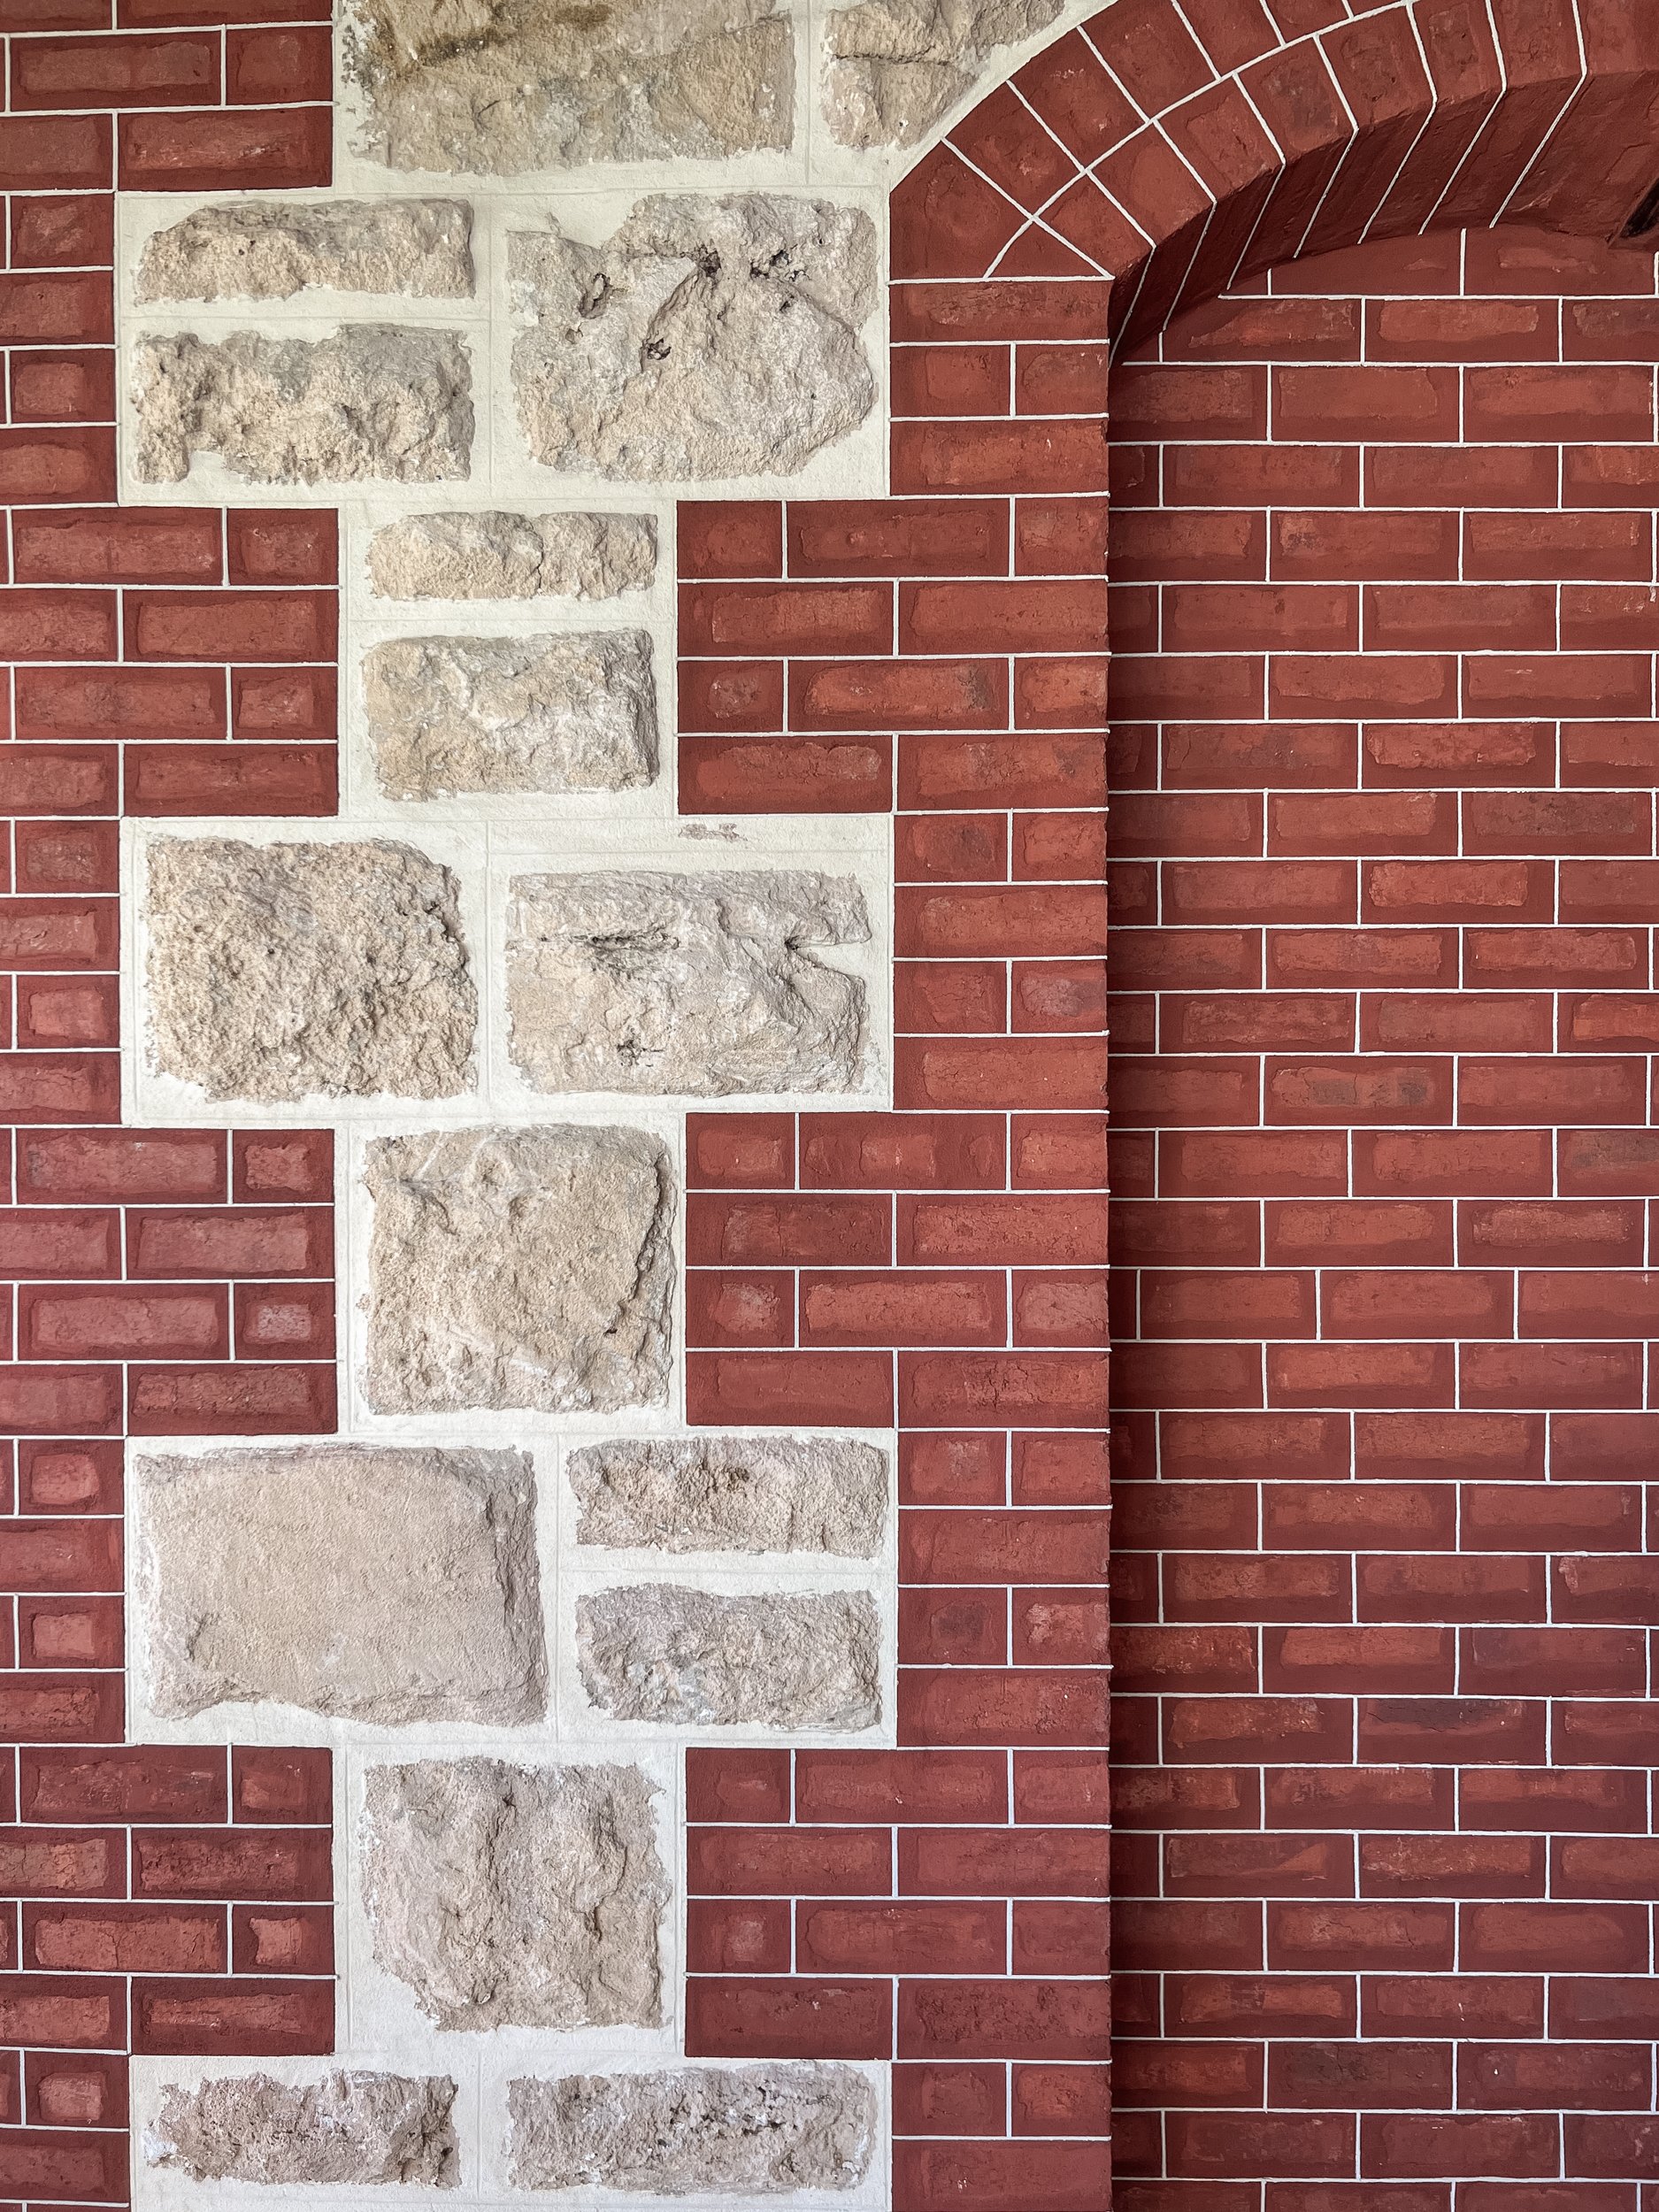
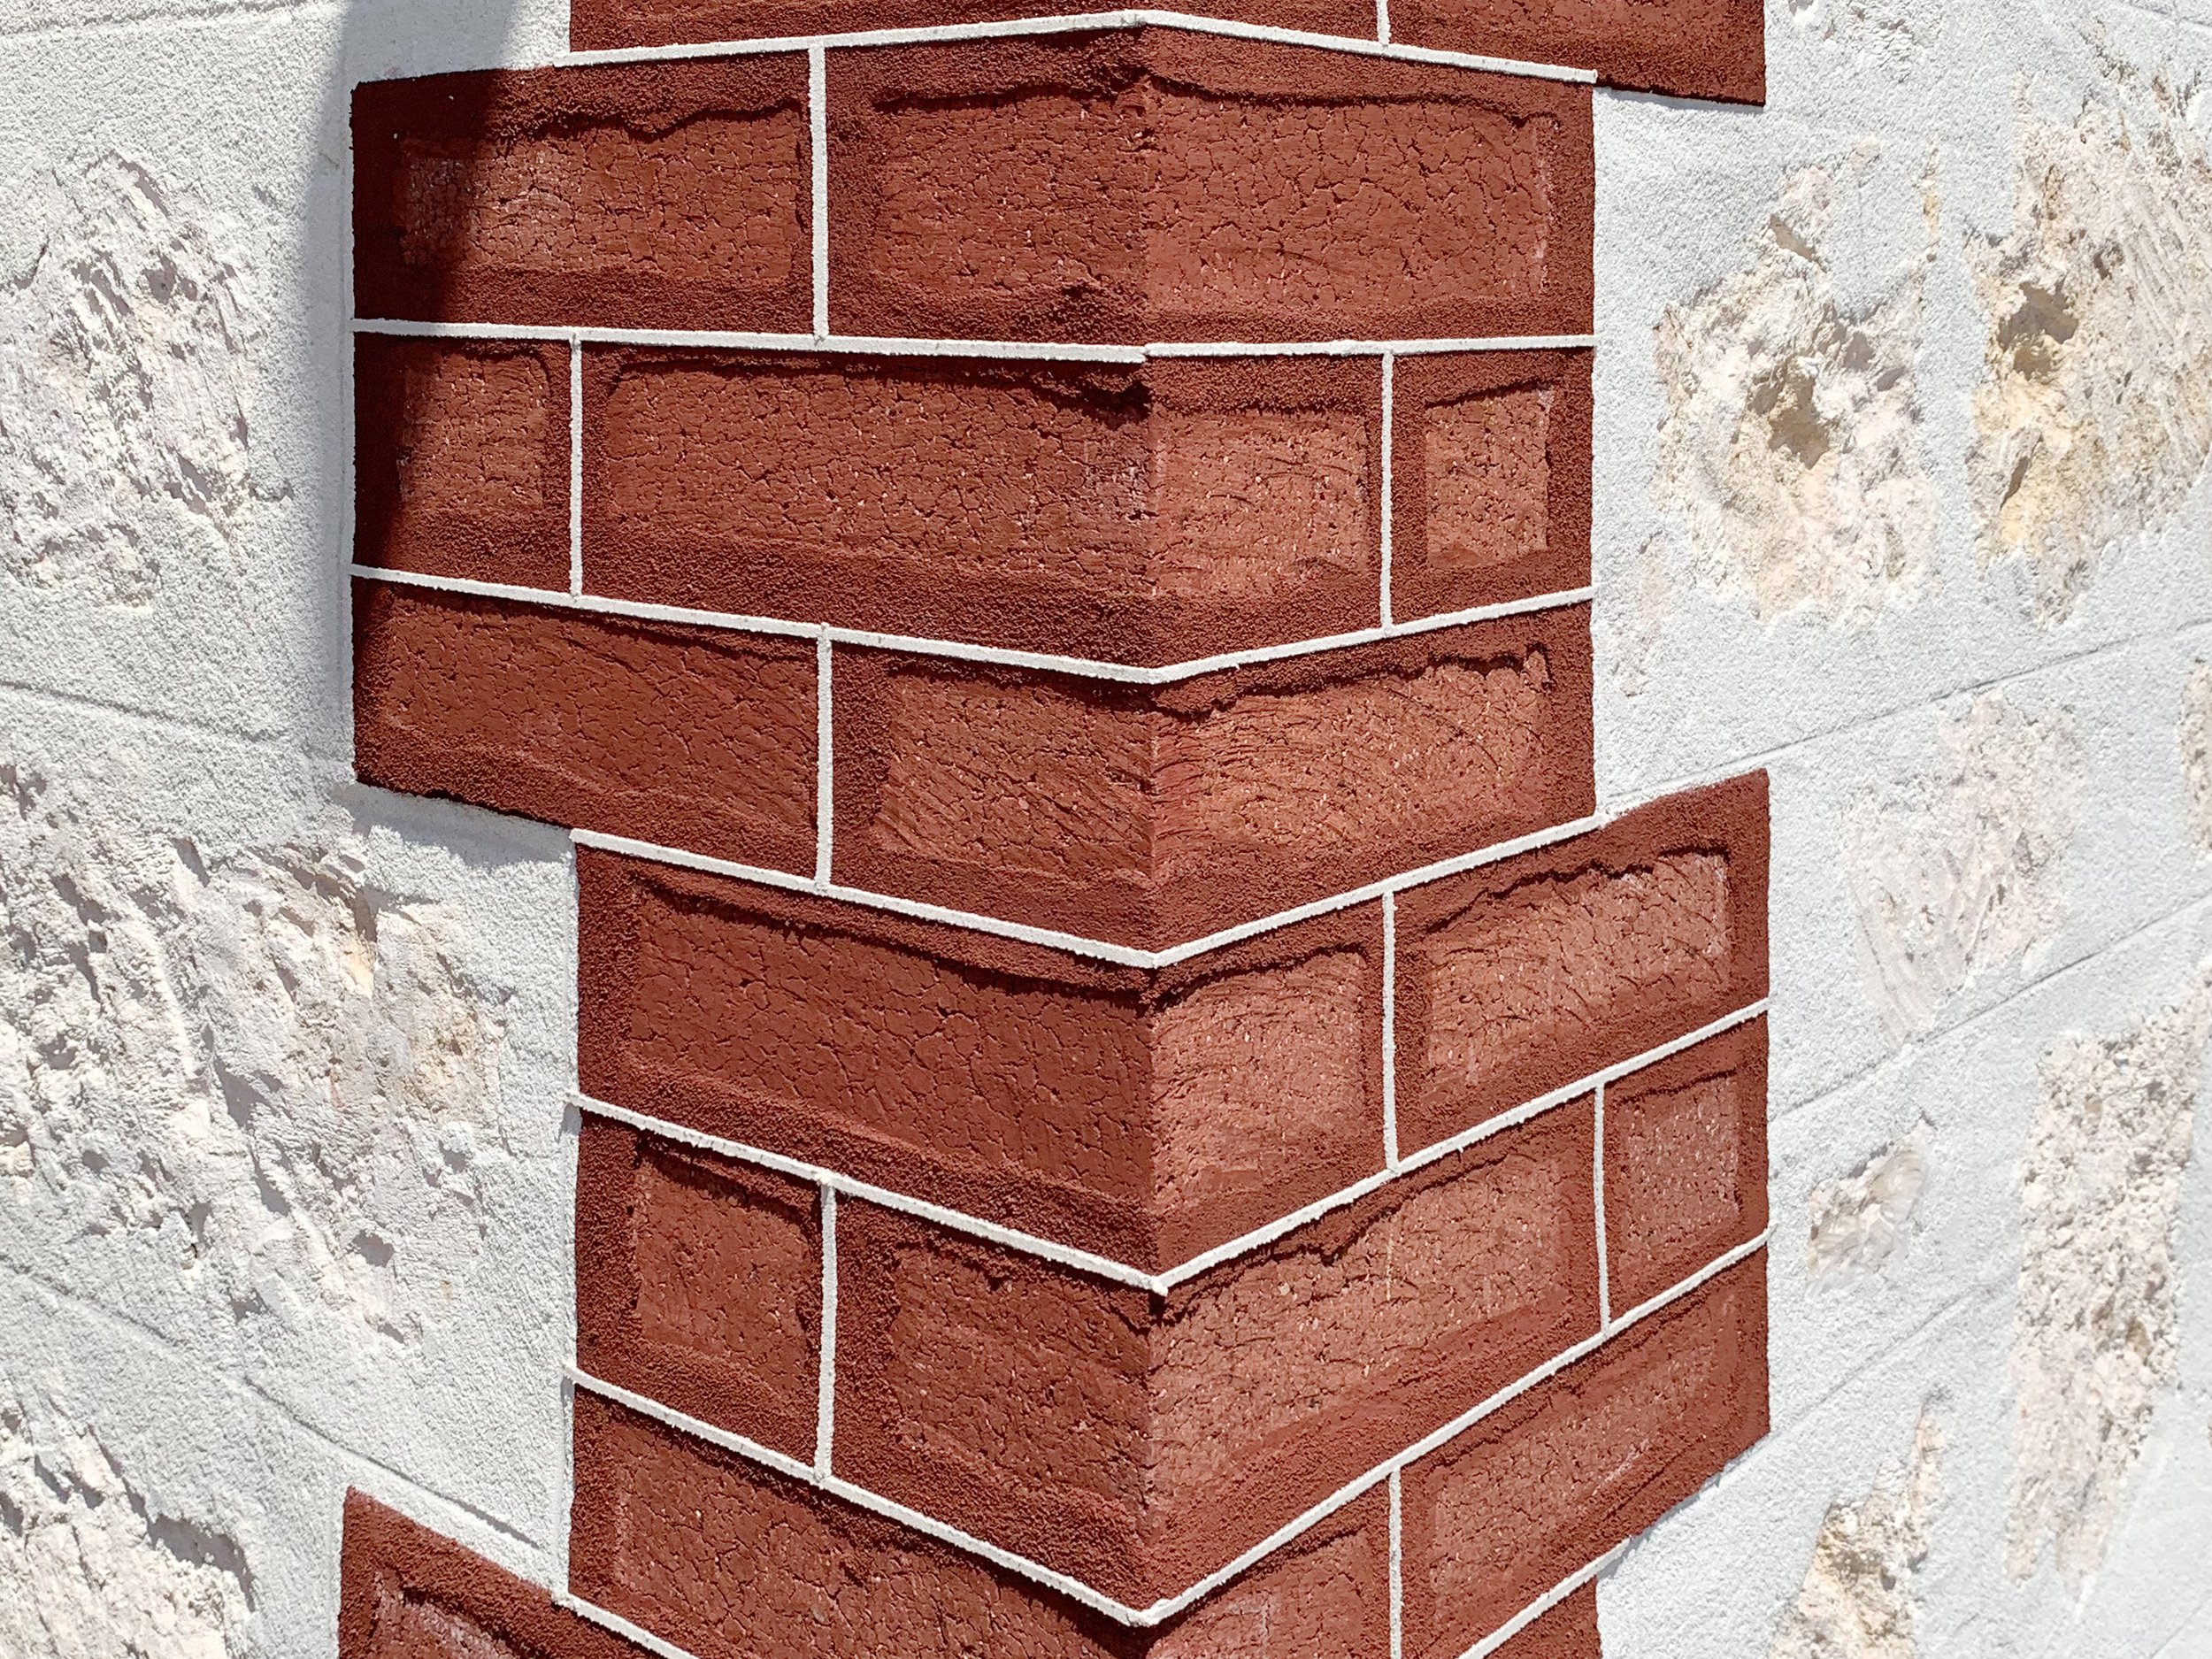
Tuckpointing is a specialised technique whereby two contrasting colours of mortar are used in combination, creating the effect of very fine joint lines between bricks. After tuckpointing the bricks in your walls, chimney, or fireplace will look perfect, while still retaining their natural look and texture.
Tuckpointing enhances the longevity and value of your property.
What is tuckpointing?
Applied over existing brickwork, render tuckpointing offers the same appearance as regular tuckpointing and is used when existing brickwork is badly damaged, or as a more budget-friendly option to traditional tuckpointing.
Render tuckpointing gives the flexibility to create the fine aesthetic of traditional tuckpointing no matter what condition your property is in.
What is render tuckpointing?
Which types of brickwork can be tuckpointed?
Any and all brickwork can be tuckpointed - walls, chimneys, fireplaces, archways and more.
Will tuckpointing suit my property?
Tuckpointing enhances the look of any brickwork. Whether it be a Perth federation home, a mid-century office, or a contemporary building. Use it to restore the former glory of a heritage building, or add a classic charm to modern architecture.
What are the benefits of tuckpointing
Tuckpointing not only provides an aesthetically remarkable finish, it provides protection against deterioration of brickwork, and increases its longevity. By sealing the cracks and gaps in mortar joins, tuckpointing provides protection from moisture entering the brickwork - a major contributor to erosion.

Brick and limestone wall before restoration - requires render removal.


Brick and limestone wall after render removal - ready for restoration, repointing and tuckpointing.
Fully restored brick and limestone wall. After render removal, repointing and tuckpointing.
Regal Heritage Tuckpointing Process
At Regal Heritage Restoration we take pride in our heritage tuckpointing service, preserving the authenticity and beauty of historical buildings. Our process follows traditional techniques while ensuring the highest quality results. Here's a step-by-step guide to how we perform tuckpointing:
1. Preparation
For previously tuckpointed surfaces
We begin by carefully removing any old tuckpointing using a masonry grinder, creating a clean surface for the new work.
Repointing and cleaning
If needed, we repoint or flush off any damaged mortar joints or brick faces. In some cases, we use a hot water gun to steam clean the brick faces, removing any staining or historical splatters that may have accumulated over time.
2. Base Mortar (Stopping)
The next step is applying the base mortar, also known as "stopping." This is the foundational layer on which the white line is placed. We create the base mortar using traditional techniques, adding oxides and ochre to achieve the desired red or burgundy-brown colour.
This layer is applied with a custom-made trowel off a hawk and sponged in. It is critical that the base mortar is flat and even to ensure a smooth surface for the white lines.
3. Oxide Brick Staining
To harmonize the colour of the base mortar and bricks, we apply a transparent oxide brick stain. This not only enhances the aesthetic of the bricks and base mortar but also protects the tuckpointing from fading or weathering over time.
4. Marking Out
This is one of the most important stages of the tuckpointing process. We use a gauge to standardize the brick size, then carefully measure and mark the building using chalk string lines and levels. This ensures that all the lines are perfectly aligned for the next stage of tuckpointing.
5. White Lining
Finally, we apply the white line, also known as "tuck ribbons." These lines are typically 2-5mm wide and can be white, off-white, or black, depending on the project specifications. There are two methods for applying the white line:
Traditional method:
We use a tuck iron and a straight edge to create horizontal lines, followed by perpendicular lines. After pressing the lines into the mortar, we carefully cut any imperfections with a knife. Once the mortar has started to cure, we brush the lines to finish the look.
Modern method (most common in Western Australia):
Two perfectly parallel pieces of tape are applied along the horizontal base mortar. A specialized mortar is then applied with a trowel. Once the mortar starts to set, the tape is removed. This process is repeated for the perpendicular lines, ensuring sharp, clean edges.
With our meticulous attention to detail, your heritage building will showcase beautifully crafted tuckpointing that will stand the test of time.
Tuckpointing Before and After Photos


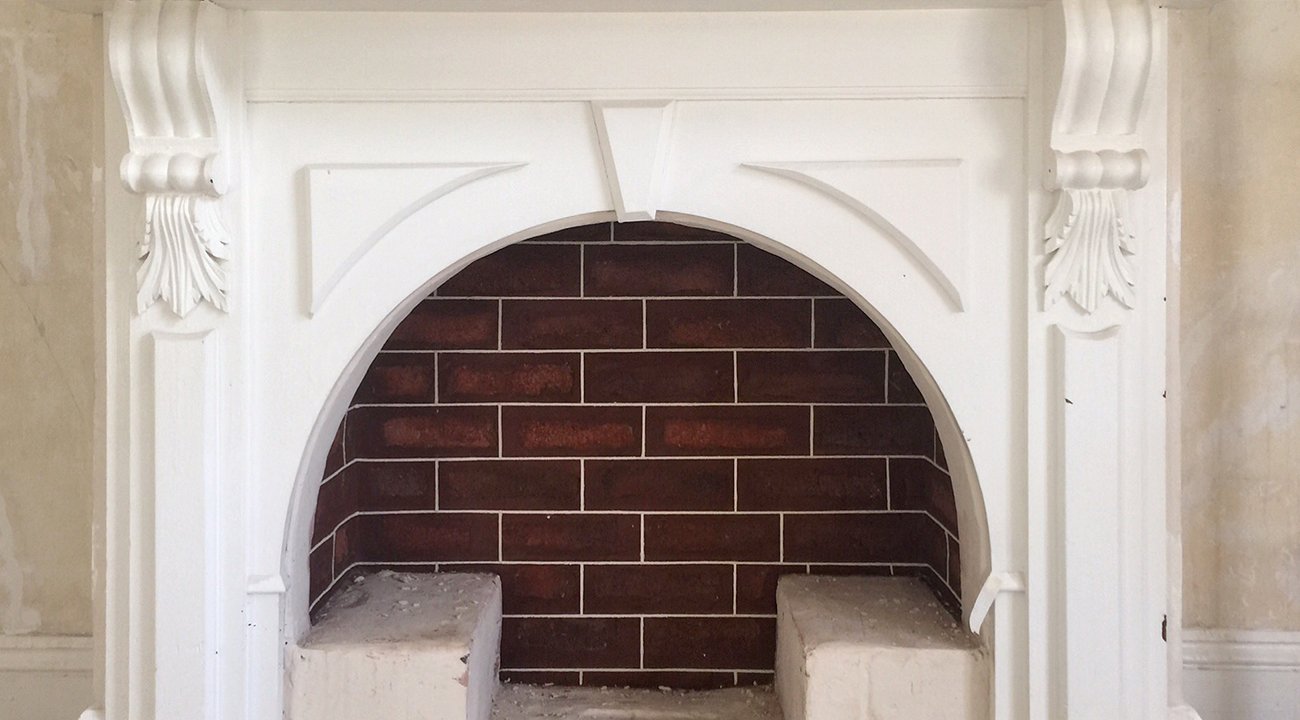
Fireplace brickwork—before tuckpointing

Fireplace brickwork—after tuckpointing

External walls—before tuckpointing
External walls—after tuckpointing
tuckpointing photo gallery


Hear from some of our tuckpointing clients
testimonials
Get in touch for quality tuckpointing in Perth
We believe our brick tuckpointing is second to none in Perth. If you are after quality craftsmanship and personal service call, text, or email us for an obligation-free quote, or to talk about your project.